The Art Of Phone Drawing: Master Realistic & Stylized Sketches
Why Embrace Phone Drawing? More Than Just a Gadget
The mobile phone, cell phone, or smartphone is arguably the most ubiquitous personal item in modern society. Its constant presence in our daily lives makes it an incredibly relatable and accessible subject for artistic exploration. But why focus on phone drawing specifically? Beyond its familiarity, the phone offers a unique set of artistic challenges and opportunities. Its sleek, geometric forms provide an excellent exercise in understanding perspective and proportion, while its reflective surfaces and intricate details (like camera lenses and buttons) push artists to master shading, highlighting, and texture. For many, learning how to draw a mobile phone can be a fun and rewarding experience. It's a subject that resonates with nearly everyone, making your artwork instantly recognizable and engaging. From the latest iPhone to a classic Samsung Galaxy, or even a nostalgic landline, each type of phone presents its own distinct characteristics to capture. This variety ensures that your phone drawing endeavors will always feel fresh and exciting, allowing you to continually refine your skills while exploring different models and designs. It’s not just about drawing a gadget; it’s about capturing a piece of contemporary culture.Getting Started: Essential Tools for Your Phone Drawing Journey
Before you embark on your phone drawing adventure, gathering the right tools is crucial. The good news is, you don't need an elaborate setup to begin. For traditional artists, the essentials are quite simple: * **Pencil:** A good range of pencils (e.g., HB, 2B, 4B, 6B) will allow you to create varying line weights and shades. HB is great for initial sketches, while softer leads (B series) are perfect for darker tones and shading. * **Eraser:** A kneaded eraser is highly recommended as it lifts graphite without smudging or damaging the paper, ideal for refining outlines and creating highlights. A standard vinyl eraser is also useful for larger corrections. * **Paper:** Any good quality drawing paper will do. Consider paper with a slight tooth for better graphite adherence, especially when you start exploring shading. * **Brushes and Paints (Optional):** If you wish to add color or explore different mediums, a few brushes and paints (watercolor, acrylics, or colored pencils) can elevate your phone drawing from a sketch to a full illustration. * **Reference Image:** Having a physical phone or a clear photograph of the specific model you want to draw is invaluable. This allows you to observe its unique proportions, button placement, camera configuration, and how light interacts with its surfaces. Holding a phone reference drawing back can provide crucial insights into how light and shadow play on its various angles. For those venturing into digital art, a tablet (like an iPad or a Wacom tablet) and a stylus are your primary tools. Software like Procreate, Adobe Photoshop, or Clip Studio Paint offer a vast array of brushes, layers, and editing capabilities that can streamline your phone drawing process and open up new creative possibilities. The principles of drawing remain the same, but the medium offers different ways to achieve your artistic vision.Mastering the Basics: Step-by-Step Phone Drawing Techniques
Learning how to draw a great looking phone begins with understanding fundamental shapes and a systematic approach. This tutorial shows how to draw a phone with step by step examples, making it accessible even for beginners.Laying the Foundation: Proportions and Basic Shapes
The first step in drawing a phone is to establish its overall shape and proportions accurately. This is where a strong foundation prevents common drawing mistakes. 1. **Markup and Placement:** When drawing a phone in stages, the first step is to draw a markup on your sheet of paper. This ensures the placement of the figure in the center of the canvas and helps you plan your composition. Lightly sketch a rectangular guide to define the phone's overall size and position. 2. **The Basic Rectangle:** Next, draw a rectangle. Most modern smartphones are essentially elongated rectangles. Pay close attention to the aspect ratio (width to height) of the specific phone you're drawing. 3. **Rounding the Edges:** Phones rarely have sharp, pointed corners. Gently round the edges of your rectangle. This simple step immediately makes your phone drawing look more realistic and less like a rigid box. 4. **Perspective (Optional but Recommended):** If you're looking to practice drawing something easy yet impactful, try drawing a phone in perspective. This tutorial shows how to draw a phone in perspective in six steps. Even a slight angle can add depth and dynamism to your drawing. Start by lightly sketching a simple 3D box, then fit your phone's basic shape within it.Adding Key Features: Screen, Speaker, Camera, and Buttons
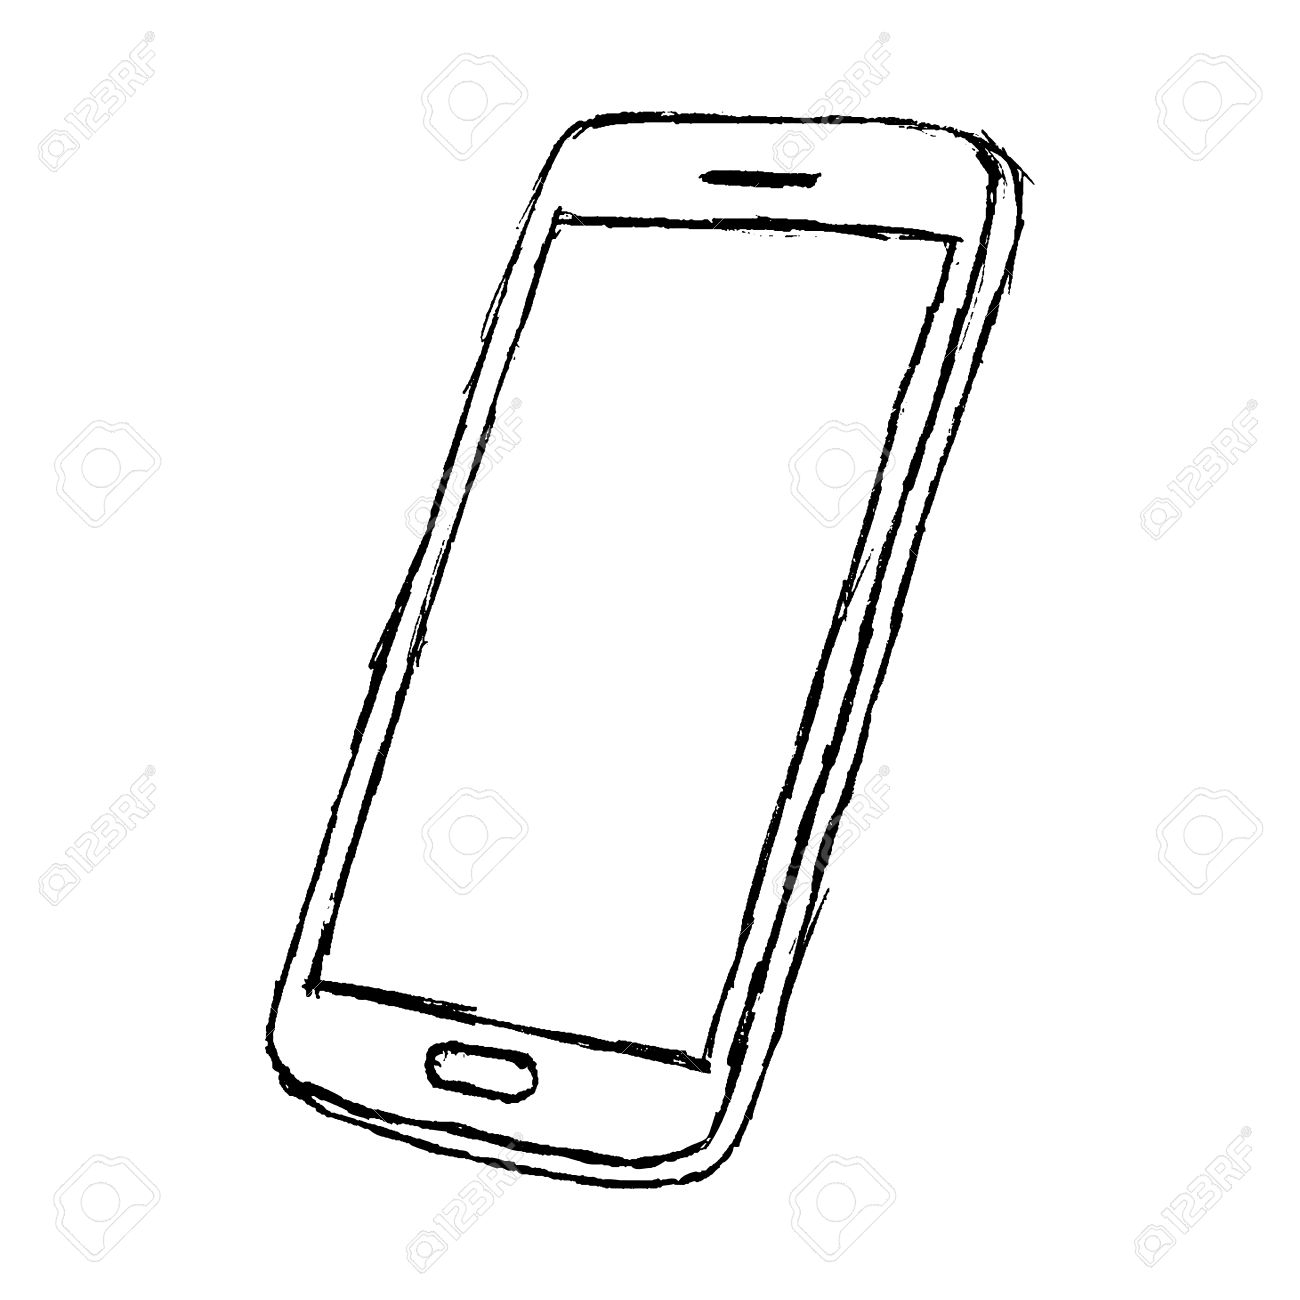
Once the basic outline is solid, it's time to add the defining features that make your phone drawing recognizable. Follow the steps to outline the phone, add the screen, speaker, camera and buttons, and color the drawing. 1. **The Screen:** The screen is the dominant feature. Draw a slightly smaller rectangle inside your main phone outline, leaving a small bezel around the edges. This defines the display area. 2. **Speaker:** Begin by drawing a slightly diagonal oval shape on the upper portion of your paper. This creates the outline of the speaker, which is the upper part of the phone that we place over our ear whenever we’re talking on the phone. For modern phones, it's often a thin slit or a series of small dots. 3. **Front Camera and Sensors:** Above the screen, near the speaker, lightly sketch circles or dots for the front-facing camera and various sensors. Their exact placement will depend on the phone model. 4. **Buttons:** Most phones have power buttons and volume rockers on their sides. Carefully observe your reference image to place these accurately. They are typically elongated rectangles or small circles. 5. **Rear Camera Module:** On the back of the phone, the camera module is often a prominent feature. This can range from a single lens to multiple lenses within a raised bump or a distinct island. Sketch the overall shape of this module first, then add the individual lenses (circles), flash (small circle or rectangle), and any other sensors within it. 6. **Charging Port and Other Details:** Don't forget the charging port at the bottom, and possibly speaker grilles, microphone holes, or SIM card trays on the sides. These small details contribute significantly to the realism of your phone drawing.Achieving Realism: Shading, Highlighting, and Texture
This is where your phone drawing truly comes to life. Discover techniques for shading, highlighting, and creating realistic details, perfect for beginners and experienced artists alike. 1. **Understanding Light Source:** Before you start shading, identify your light source. Is it coming from the top, side, or front? This will dictate where shadows fall and where highlights appear. 2. **Shading:** Use your softer pencils (2B, 4B, 6B) to build up tones. The edges of the phone, especially where the screen meets the bezel, will have subtle shadows. The body of the phone, if it's matte, will have diffused shadows, while glossy surfaces will have sharper, more defined reflections. 3. **Highlighting:** Use your eraser to lift graphite and create highlights. The screen, especially when off, can have strong reflections. The edges of the phone, the camera lenses, and any metallic accents will catch light. A kneaded eraser can be shaped to create very precise highlights. 4. **Texture:** Phones come in various finishes: glossy glass, matte metal, textured plastic. Observe your reference image closely to capture these textures. For a smooth, glossy screen, aim for even shading with sharp highlights. For a matte back, use a more diffused, slightly grainy shading technique. The camera lenses often have a distinct glass texture that can be rendered with subtle reflections and refractions. Learning how to capture various features, including screens, buttons, and textures, with ease is key to a compelling phone drawing.Exploring Different Phone Drawing Styles
The beauty of phone drawing lies in its versatility. You're not limited to just hyper-realistic renderings. Discover various types of phone drawings and essential techniques to create realistic and unique artwork.From Realistic to Stylized: Capturing Diverse Aesthetics
* **Realistic Phone Drawing:** This style focuses on capturing every detail with precision, aiming for a photographic likeness. It involves meticulous shading, accurate proportions, and a keen eye for light and shadow. Learning how to draw a realistic cell phone with this easy tutorial that shows you each step of the process involves patience and observation. * **Cute Phone Drawing:** For a more whimsical approach, you can simplify shapes, exaggerate features (like larger cameras or rounded bodies), and add playful expressions (yes, even phones can have "faces"!). Learn how to draw this cute phone step by step easy, often seen in cartoon styles. * **Funny iPhone/Smartphone Drawing:** Inject humor by giving the phone exaggerated reactions, human-like limbs, or placing it in humorous scenarios. This can be a great way to explore character design using an inanimate object as a base. * **Minimalist Phone Drawing:** Focus on clean lines and basic shapes, stripping away unnecessary details. This style emphasizes the phone's silhouette and essential features, often using negative space effectively. * **Abstract Phone Drawing:** Deconstruct the phone into its fundamental geometric forms, colors, and textures, then rearrange them in a non-representational way. This pushes the boundaries of what a "phone drawing" can be.Drawing Phones in Perspective: Adding Depth
Adding perspective is a crucial skill for any artist, and a phone is an excellent subject to practice with. This tutorial shows how to draw a phone in perspective in six steps. It can be good for beginners that are looking to practice drawing something easy. * **One-Point Perspective:** Imagine the phone facing directly towards you, but slightly angled. All parallel lines recede to a single vanishing point on the horizon line. This is the simplest form of perspective and great for showing the front and a bit of one side. * **Two-Point Perspective:** This is more common for drawing objects at an angle. You'll have two vanishing points on the horizon line. This allows you to show two sides of the phone receding into the distance, giving it a more dynamic and three-dimensional feel. * **Using a Grid:** For beginners, lightly sketching a perspective grid can be incredibly helpful. This provides a framework to ensure your lines converge correctly and your proportions remain accurate as the phone recedes in space.Advanced Techniques for Elevating Your Phone Drawing
Once you've mastered the basics, you can push your phone drawing skills further with more advanced techniques. * **Reference Photography:** Always use high-quality reference photos. For instance, an "holding phone reference drawing back" image can show you how light reflects off the back panel and how the edges interact with the fingers. An "iPhone drawing sketch steps for drawing a smartphone" can guide you through the intricacies of specific models. Don't just copy; analyze the light, the form, and the materials. * **Material Rendering:** Pay close attention to how different materials (glass, metal, plastic) reflect light and absorb shadow. Glass screens will have sharp, defined reflections, often with internal reflections from the display. Metal frames might show subtle brushed textures or polished reflections. Plastic might have a softer, more diffused appearance. * **Environmental Reflections:** A phone's screen and body are highly reflective. Consider what's around the phone and how those elements might be subtly reflected on its surface. This adds immense realism and context to your phone drawing. * **Brand Specifics:** If you're drawing a specific model like the latest iPhone or a Samsung Galaxy, research its unique design elements. This includes camera bump shapes, button designs, logo placement, and even the subtle curves of its body. These details are what make a specific phone drawing instantly recognizable.Showcasing Your Phone Drawing Art: Share Your Creations
Creating art is only half the journey; sharing it allows you to connect with other artists, receive feedback, and build a portfolio. Showcase and share your creations through portfolios and social media. * **Online Portfolios:** Platforms like ArtStation, Behance, or even a personal website are excellent places to curate your best phone drawings. This allows potential clients or collaborators to see your skill level. * **Social Media:** Instagram, TikTok, and Pinterest are visual platforms perfect for artists. Use relevant hashtags like #howtodraw, #phonedrawing, #artforkidshub (if applicable), #drawingtutorial, etc., to reach a wider audience. Share your process, time-lapses, and finished pieces. * **Art Communities:** Join online art forums or local art groups. Sharing your work and engaging with others can provide invaluable feedback and inspiration. * **Drawing Games:** Believe it or not, your phone drawing skills can be put to fun use in interactive games. Games like Gartic.io and Gartic Phone utilize drawings as the main element. You score a hit every time you keep the meaning of sentences and drawings. You start writing and keep drawing until the end, finally describing the last drawing. These games are a fantastic way to practice quick sketching and visual communication in a playful environment, demonstrating the broad appeal and utility of drawing skills.Common Pitfalls and How to Overcome Them in Phone Drawing
Even with the best intentions, artists can encounter challenges when learning phone drawing. Being aware of these common pitfalls can help you avoid them. * **Inaccurate Proportions:** One of the most frequent issues is drawing a phone that looks "off" – too wide, too narrow, or too short. **Solution:** Always start with light construction lines and measure frequently. Use your pencil to gauge ratios (e.g., "the screen is about two-thirds the width of the phone"). * **Lack of Symmetry:** Phones are highly symmetrical. If one side is slightly different from the other, it can make the drawing look amateurish. **Solution:** Fold your paper vertically (if appropriate) or use a ruler to mark central points and ensure equal distances from the center line. For digital art, use symmetry tools. * **Flatness:** Without proper shading and highlighting, a phone drawing can look flat and two-dimensional. **Solution:** Understand your light source. Practice rendering basic 3D shapes (cubes, cylinders) to grasp how light and shadow create form. Build up your values gradually from light to dark. * **Overlooking Details:** The small details – the subtle curve of the glass, the texture of the speaker grille, the tiny light reflections on a button – are what bring a phone drawing to life. **Solution:** Spend time observing your reference. Zoom in on areas you find challenging. Don't rush the detail phase; it's often the most rewarding. * **Fear of Reflection:** Many artists find drawing reflections intimidating. **Solution:** Don't try to draw every single reflection. Instead, simplify them into abstract shapes of light and dark that suggest reflection. Observe the overall pattern of light on the screen and body.The Future of Phone Drawing: Digital Art and Beyond
The evolution of technology continues to shape the way we create art. Digital tools have made phone drawing more accessible and versatile than ever before. Drawing directly on a tablet or even a smartphone offers incredible flexibility, allowing for easy corrections, layer management, and a vast array of digital brushes that can mimic traditional mediums or create entirely new effects. Beyond static images, phone drawing skills are increasingly valuable in fields like UI/UX design, where quick sketches of phone interfaces are essential for prototyping. Animation, game design, and even educational content (like the "Art for Kids Hub" style tutorials mentioned in the data) leverage simplified or stylized phone drawings. As phones continue to evolve in design and function, so too will the artistic interpretations of them, offering endless inspiration for artists. The very device you might be drawing on could be the subject of your next masterpiece.Conclusion: Your Journey into the Art of Phone Drawing
From understanding basic shapes and proportions to mastering intricate shading and exploring diverse styles, the art of phone drawing offers a rich and rewarding creative outlet. We've covered the essential tools, detailed step-by-step techniques for outlining, adding features like the screen, speaker, camera, and buttons, and discussed how to achieve realism through shading, highlighting, and texture. We've also touched upon the fun of drawing different types of phones – from classic landlines to the latest smartphones – and even explored how your drawing skills can be applied in interactive games like Gartic Phone. Remember, practice is the cornerstone of improvement. Don't be afraid to experiment, make mistakes, and learn from them. Every line, every shade, every detail you add brings you closer to mastering this fascinating subject. So grab your tools, pick your favorite mobile phone model, and start sketching! We encourage you to share your phone drawing creations on social media and connect with other artists. What's your favorite phone model to draw? Let us know in the comments below!
Phone Drawing - How To Draw A Phone Step By Step
Cellphone Drawing at PaintingValley.com | Explore collection of

How to draw MOBILE PHONE easy | how to draw a phone - YouTube
